• Instagram
  • Pinterest
  • Skip to primary navigation
  • Skip to main content
  • Skip to primary sidebar
  • Skip to footer
  • About
    • About Me
    • PARTNER
  • HOME
    • DIY
  • LIFESTYLE
    • WEDDING
    • BABY
    • RECIPES
  • BEAUTY
  • Shop
    • CHRISTMAS
    • MY HOME
    • CRAFTS AND DIY
    • NURSERY
    • MY HAIR & BEAUTY
    • MY CLOSET
  • ONE ROOM CHALLENGE
  • WALLPAPERS
Chasing Cozy

Chasing Cozy

by Leslie Claire

Archives for June 2019

Wednesday, June 26, 2019

HOW TO MAKE A PINEAPPLE CUP

Easy pineapple cocktail cup

Pineapple cups are so cute and can really add a special touch to a summer gathering with friends. They are so easy to make if you have the right tool.

This pineapple corer is key. All you do is remove the top of the pineapple, insert the corer right over the core, and twist. As you twist, the corer creates a spiral of pineapple.
Easy pineapple cocktail cup
You just lift the corer out and you’re left with yummy fruit and none of the mess of cutting around the core by hand.

You can then cut the core out, or, even easier, use kitchen shears.

Easy pineapple cocktail cup

The pineapple fully removed

You can make these cups even more festive with cocktail umbrellas and fun straws. You can enjoy a classic pina colada by the pool, or make your own recipe!

I most recently made a Prosecco punch that used some of the fresh pineapple in the recipe. Instead of buying pineapple juice, I popped four rings in the blender to make my own.

RECIPE

This recipe is just about right for filling two medium pineapple cups.

1 cup Prosecco
1/4th cup lime juice
1/3 cup orange juice
Four rings of your fresh pineapple
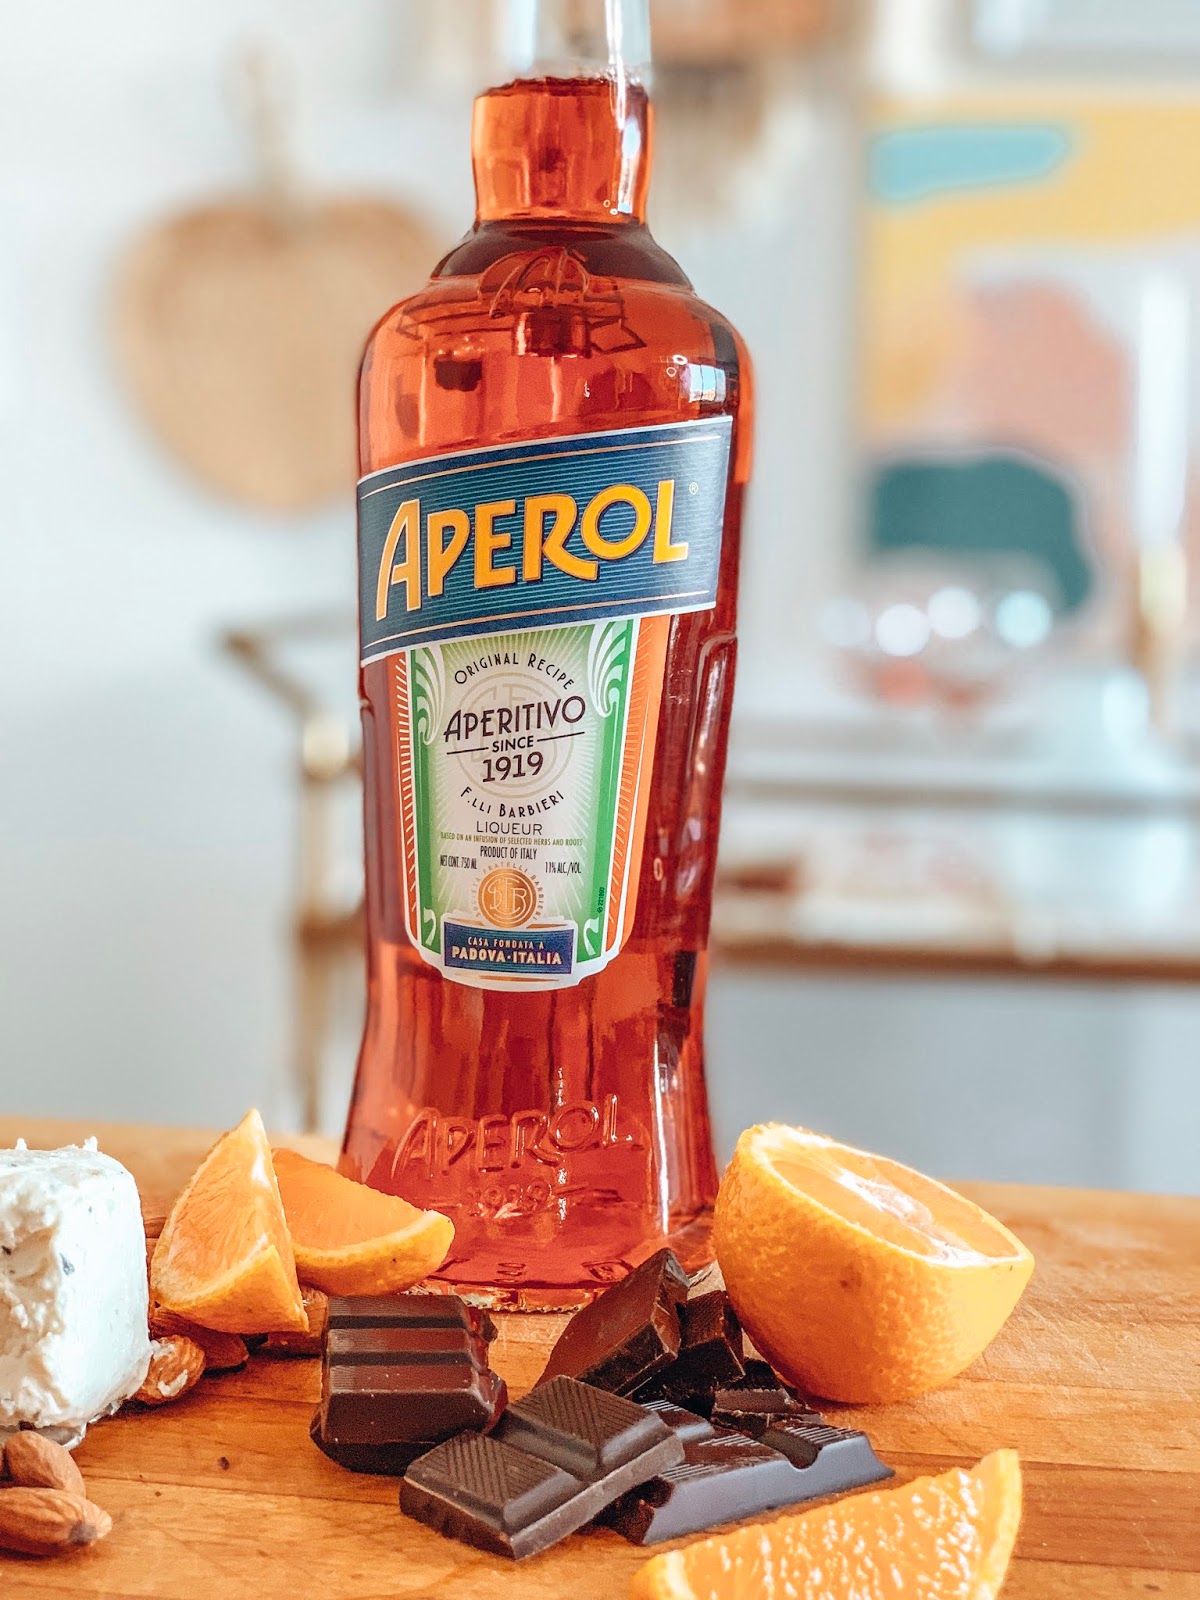
2 TBS  Aperol
5-7 ice cubes 

Blend everything together until the ice and pineapple chunks are gone. 

Easy way to make a pineapple cup
Be sure to tag me in your posts if you make some cute pineapple cups to enjoy by the pool!
Shop some of my other home gadgets here!

This post contains affiliate links.

Leave a CommentFiled Under: COCKTAILS, DIY, HOME, RECIPES, Uncategorized, WEEKEND

Monday, June 24, 2019

SUMMER SOLSTICE APEROL SPRITZ

sliced oranges and a bottle of aperol on a cutting board

SO, it seems like we’ve been seeing aperol spritzes in every other picture as we scroll through the ‘gram lately. It seems like people have pretty polarized opinions on this beverage. The New York Times even published an op-ed on why they think it’s a horrible drink.
I had to put it to the test for myself and squash my curiosity about this bubbly concoction once and for all.

A freshly made aperol sprit on a charcuterie board with meat, nuts, cheese and oranges

Long story short, I like this drink, but only when I make it my way. I’ll list three recipes below: the original provided by the official Aperol website, the most common recipe I found on Pinterest, and the one I made for myself and liked the best.

sliced oranges and a bottle of aperol on a cutting board


THE ORIGINAL

Fill glass with ice.
Combine 1 part Prosecco with 1 part aperol.
Add a dash of soda water.
Garnish with an orange slice.

POPULAR ON PINTEREST

Combine 3 parts Prosecco to 2 parts aperol.
Add a dash of soda water.
Garnish with an orange slice.

MY RECIPE

Keep all your ingredients in the back of the fridge so they are FREEZING cold.
Only use Prosecco you would drink on its own. Don’t substitute something cheap or ultra low quality.
The lemon in my recipe is key. It gives the drink a sharper edge to balance out the sweetness of the aperol.
Make giant ice cubes so they dont immediately melt and water down the drink.
Fill glass with your large ice cubes.
Combine 4 parts Prosecco to 1 part aperol.
Add a dash of soda water.
Squeeze the juice of 1/4 lemon in.
Garnish with orange.

An aperol spritz styled on  charcuterie board

What else goes with a refreshing drink on a summer day? A yum charcuterie board. You already knew I was going to say that 😉

We didn’t shop for this one, we just used what we had leftover in the fridge. The dark chocolate was my fave, because chocolate, but also because dark chocolate and oranges are a great combo.

The oranges are from our Hungry Harvest box and were perfectly ripe. You can use code ARCHCHASERS for $10 off your first harvest.

SHOP THIS POST

This post contains affiliate links.

Leave a CommentFiled Under: COCKTAILS, RECIPES, Uncategorized

Wednesday, June 19, 2019

HOW TO MAKE REALISTIC PAPER LEAVES

tropical paper leaves

These DIY paper leaves are super easy and would be adorable when incorporated into a balloon arch or table centerpiece for a chic brunch. I was inspired by the foliage at our wedding venue to make these.

SUPPLIES

  • card stock or poster board
  • sharp scissors
  • bone folder  

supplies for the paper leaf project


DIRECTIONS

  1. Decide in the size of leaves you want and the type you want to
    create. You will need to use either a sheet of card stock for smaller,
    of poster board for larger leaves. I used a mix of the two. A variety of sizes
    mixed together will give you a pretty layered result.
  2. Draw you leaves and cut them out. It’s ok to mess up here. The
    jagged and wavy edges give you leaves a textured look that’ll look
    better in the end. I looked up images of tropical leaves and vines and
    then free-handed my sketches form there. I varied each leaf from one
    another.
  3. Once your leaves are cut out, you will use your bone folder to give
    them some texture. This will give them more structure and mimic their
    natural shape. Look at your picture of your leaf and decide the shapes
    you want to imprint into the leaf. I made a vein/stem going down the
    middle, and then strokes going from the middle stem to the outer ends of
    the leaf.
  4. I did the middle stem on the front side of the leaf since it has a
    naturally concave shape that folded in. I turned the leaf over and
    imprinted the smaller veins on the back side. This part is all really up
    to you and how you want to get creative.
  5. Once you’ve added in your texture, you’re good to go!
Using a bone folder to create realistic texture on paper leaves

Using a bone folder to create realistic texture on paper leaves 
Finished paper leaves ready to style
If you do make these pretty paper leaves, please share you project with us over on Instagram using the hashtag #ChasingCozy!

Leave a CommentFiled Under: DIY, Uncategorized

Wednesday, June 19, 2019

AFFORDABLE SUMMER SHOE GUIDE

HELLO SUMMER! Hello manicure season. My favorite manicure is one I give myself at home with a jumbo glass of ice cold rose and trash tv playing in the background. Oh, and a fuzzy robe is a must. I don’t ask for THAT much 😉

This is my complete guide to all types of summer shoes. I kept all of these well under $100 for all the girls on a budget like me. NOTE: I have only listed shoes from brands that I 100% trust and love. We all know cheaply made shoes are a bad time for everyone.

COMFY DRESSY

FLATS


SNEAKERS

Leave a CommentFiled Under: BEAUTY, CLOTHES, SHOES, Uncategorized

Next Page »

Primary Sidebar

About Me


I'm Leslie and the purpose of my blog is to inspire others to live their coziest lives. I write about home decor and DIYs.

Subscribe

Featured Post

Boho fall wreath

HOW TO MAKE A BOHO FALL WREATH

Blog Archive

  • â–º 2021 (3)
    • October (1)
    • September (1)
    • August (1)
  • â–º 2020 (27)
    • September (6)
    • July (1)
    • June (4)
    • May (5)
    • April (2)
    • March (7)
    • February (2)
  • â–º 2019 (37)
    • October (4)
    • July (3)
    • June (8)
    • May (2)
    • April (2)
    • March (6)
    • February (8)
    • January (4)
  • â–º 2018 (8)
    • December (8)

Footer

Search this Blog

Copyright © 2023 Chasing Cozy · Design by Syncboost